Rows of canned jars line the pantry shelves; each jar is a snapshot of the past season's bounty. Each jar is ready to bring a taste of those harvests to the present. It is like a tapestry of colors and flavors, a personal gallery of preserved delights that whispers stories of abundance and the artistry of preservation.
Pressure canning is a blend of science and art, ensuring that each jar is not just a masterpiece but a guarantee of nourishment and flavor.
The mention of pressure canning is often met with a bit of apprehension. For good reason, there are some horror stories of canners exploding. Modern safety features have prevented the majority of those events from occurring today. Though the canner looks like something out of a chemistry set, the process can be made simplistic and easily completed. Pressure canning is a processing method that is required to preserve low-acidic foods. This method is often feared, but just because it looks scary doesn't mean it is. Prioritizing safe canning practices will allow you to reap the benefits with ease.

Photo by Bethany Beathard
Understanding pressure canning
Pressure canning is another method of food preservation for low-acidic foods. The method of pressure canning heats food beyond the temperatures of the water bath canning process. Essentially, the process is the same as the water bath canner; the pressure canner allows for steam buildup, allowing the boiling point to be much higher. The use of the weight on the steam vent helps to control the pressure. As with water bath canning, the altitude affects the boiling point, the length of time, and weight of the weighted gauge will need adjustment. The types of foods suitable for pressure canning are low-acidic foods such as:
-Meats
-Low-acidic vegetables
-Chilis' and soups
-Seafood
-Legumes
Pressure canning is a powerful tool in your preservation arsenal and is often viewed as the pinnacle. Water bath canning has its charm with simplicity and has its purpose for highly acidic foods. It often serves as a gateway to preserving low-acidic foods and pressure canning.
Types of pressure canners
Pressure canning requires a pressure canner, not to be confused with a pressure cooker. There are two types of pressure canners: weighted gauge and dial gauge. Be sure to research the right canner for you and the type of range you will be using. Not all pressure canners permit the use of electric ranges. The most common canners are the All American and the Presto, which incorporate dial and weight.

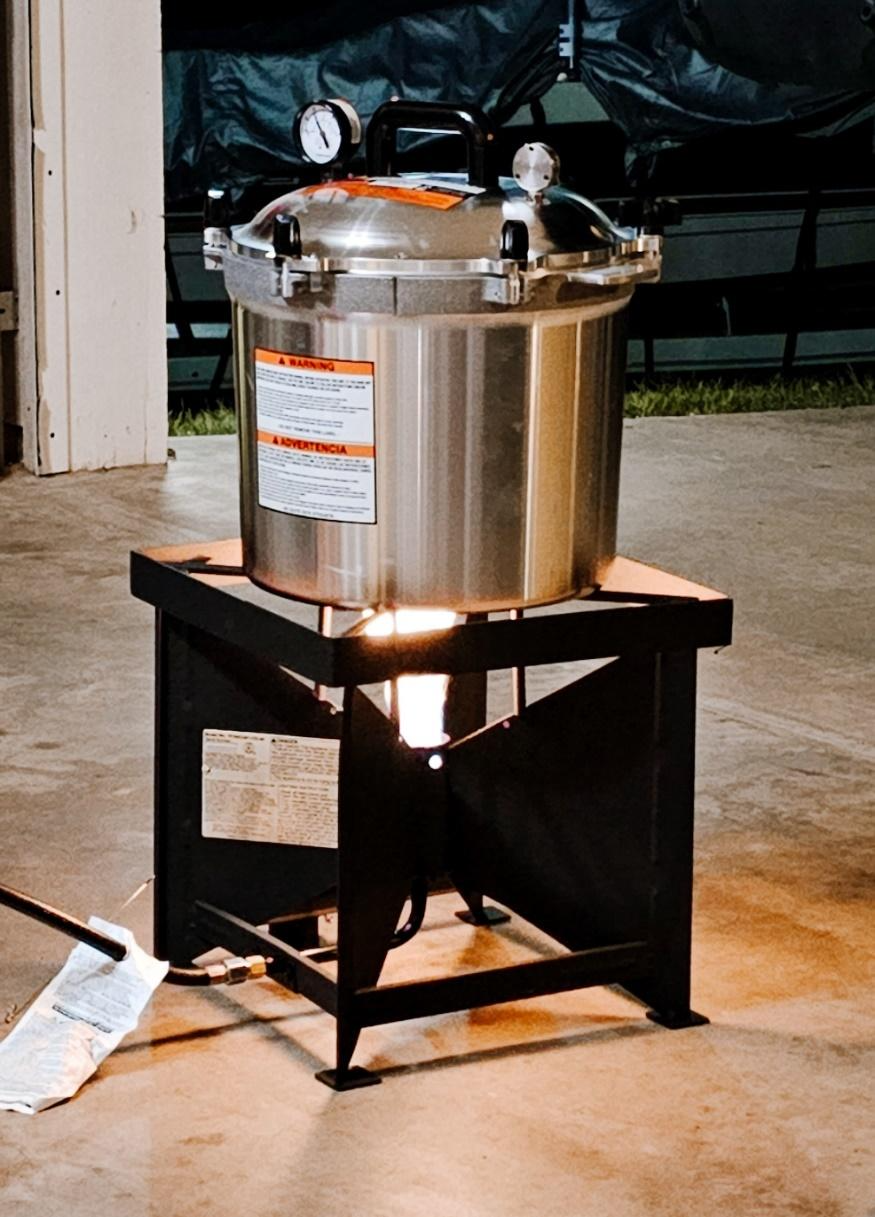
Photo by Bethany Beathard
Equipment and supplies
Canning tools are the same for both processing methods. A canning rack is something I have not mentioned previously, but it is a required piece. In pressure canning, the metal rack is placed at the bottom of the canner to prevent jars from direct contact with the bottom surface. A water bath canning rack has handles that allow the rack to be lowered into the canner or sit on the rim of the pot while loading and unloading jars. The pressure canning rack is flat and remains at the bottom of the canner. This helps with even heat distribution and helps to prevent jars from breaking.
Common canning tools you will need include:
-Jar Lifter: This tool allows you to lift hot jars safely and securely in and
out of the canner.
-Lid Magnet: Used to lift and place sterilized canning lids onto jars.
-Bubble Remover/Headspace Tool: This tool helps eliminate air bubbles
-Inside the filled jars and ensures the correct amount of headspace.
-Funnels: Funnels help fill jars with hot food easier and less messy.
Canning supplies can be found in most grocery store preservation sections. Additional online selections provide more access to a larger variety of choices. Kitchen safety precautions should be taken; use oven mitts and an apron and consider long sleeves when dealing with steam. Making the investment in quality canning equipment upfront is more cost-effective in the long run. Home pressure canning can save money over time by taking advantage of seasonal sales or harvesting from your garden. It reduces food waste and decreases the need to purchase commercially canned items at pennies on the dollar.
Step-by-step pressure canning process
Once you find a rhythm, the canning process becomes like a symphony of events. Never process food under time constraints, allow for ample time. Begin by preparing the food according to the canning recipe. When selecting a recipe for vegetables, for example, carrots consider raw pack vs. hot pack. Raw pack is when the vegetable is packed into the jars raw without cooking. However, the vegetables will cook during the canning process. In turn, a water space will be created due to the contents condensing. Hot pack is when the vegetable has been cooked prior. This choice will allot for a fuller jar.
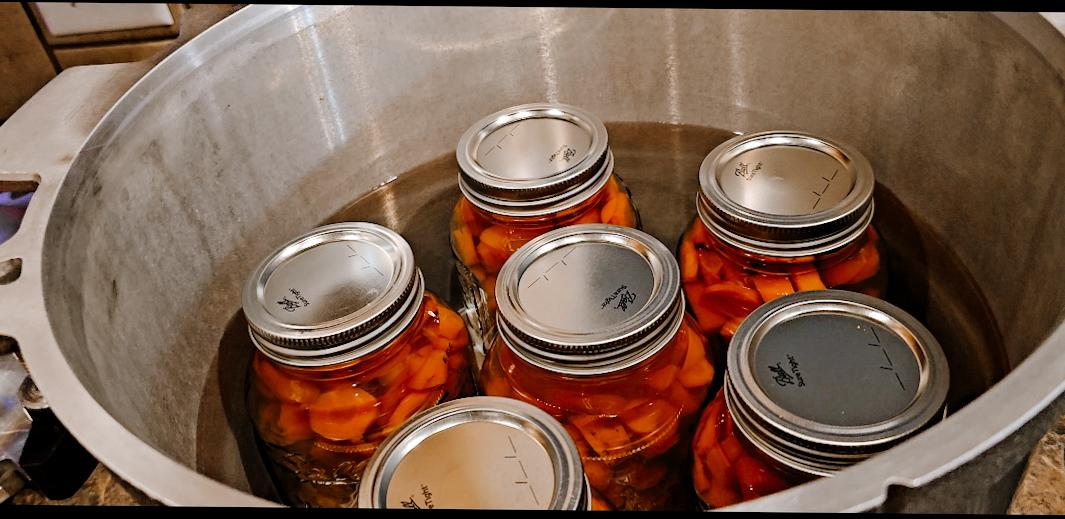
Photo by Bethany Beathard
Sterilize the glass jars, lids and bands in a boiling jar for at least 10 minutes. Use the funnel and ladle to fill jars and measure for the correct head space. Place on the flats and finger-tighten the bands. Begin loading the jars into a canner on top of the rack and fill two-thirds with water. Place on the lid a lock it into place according to the manufacturer's recommended steps. Follow the pressure canners instruction manual for the correct steps to build pressure, process and cooling procedures. When the canner is fully pressurized the weight will “rock.” This may be scary at first, but soon it becomes like music to your ears.
Once the canner has depressurized properly, remove the jars from the canner and place on a cooling rack or towel to cool for 12-24 hours. Take caution for the jars will still be hot. Refrain from touching the lids until completely cooled. After the time has passed, remove bands and check for proper sealing. If you have hard water there will be a noticeable calcium buildup on the jars. The contents are not harmed just e sure to wash the jars with soapy water before storing them.
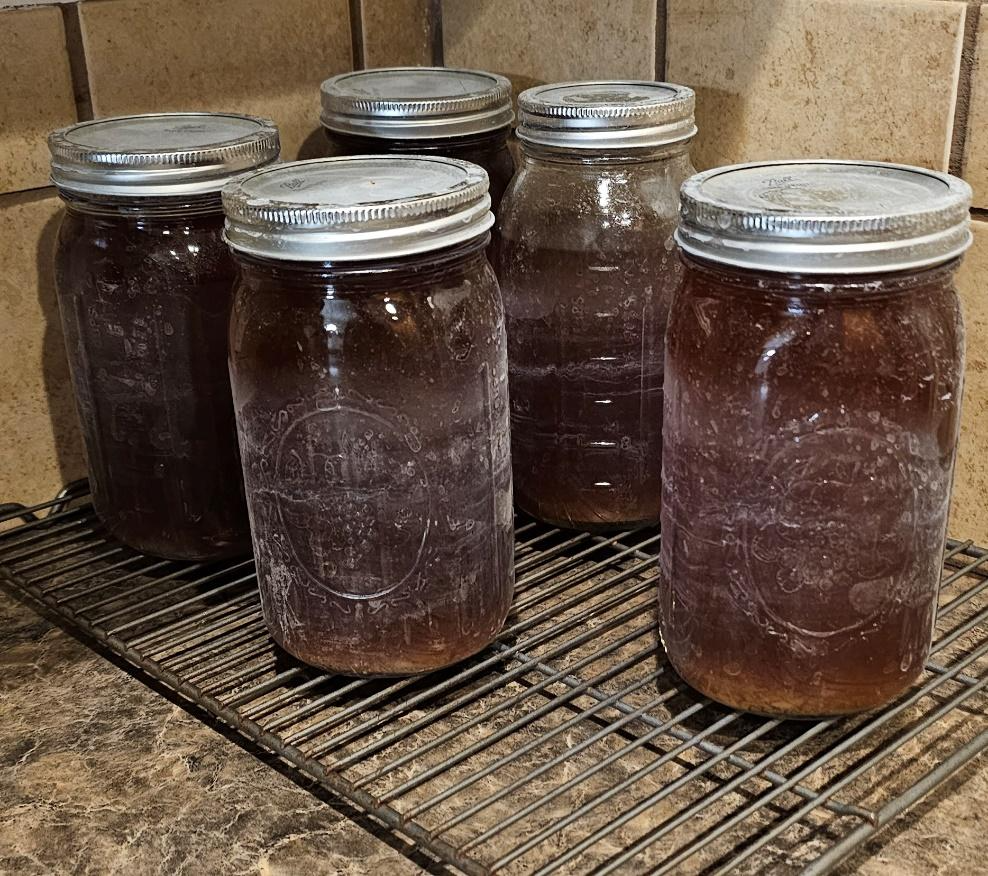
Photo by Bethany Beathard
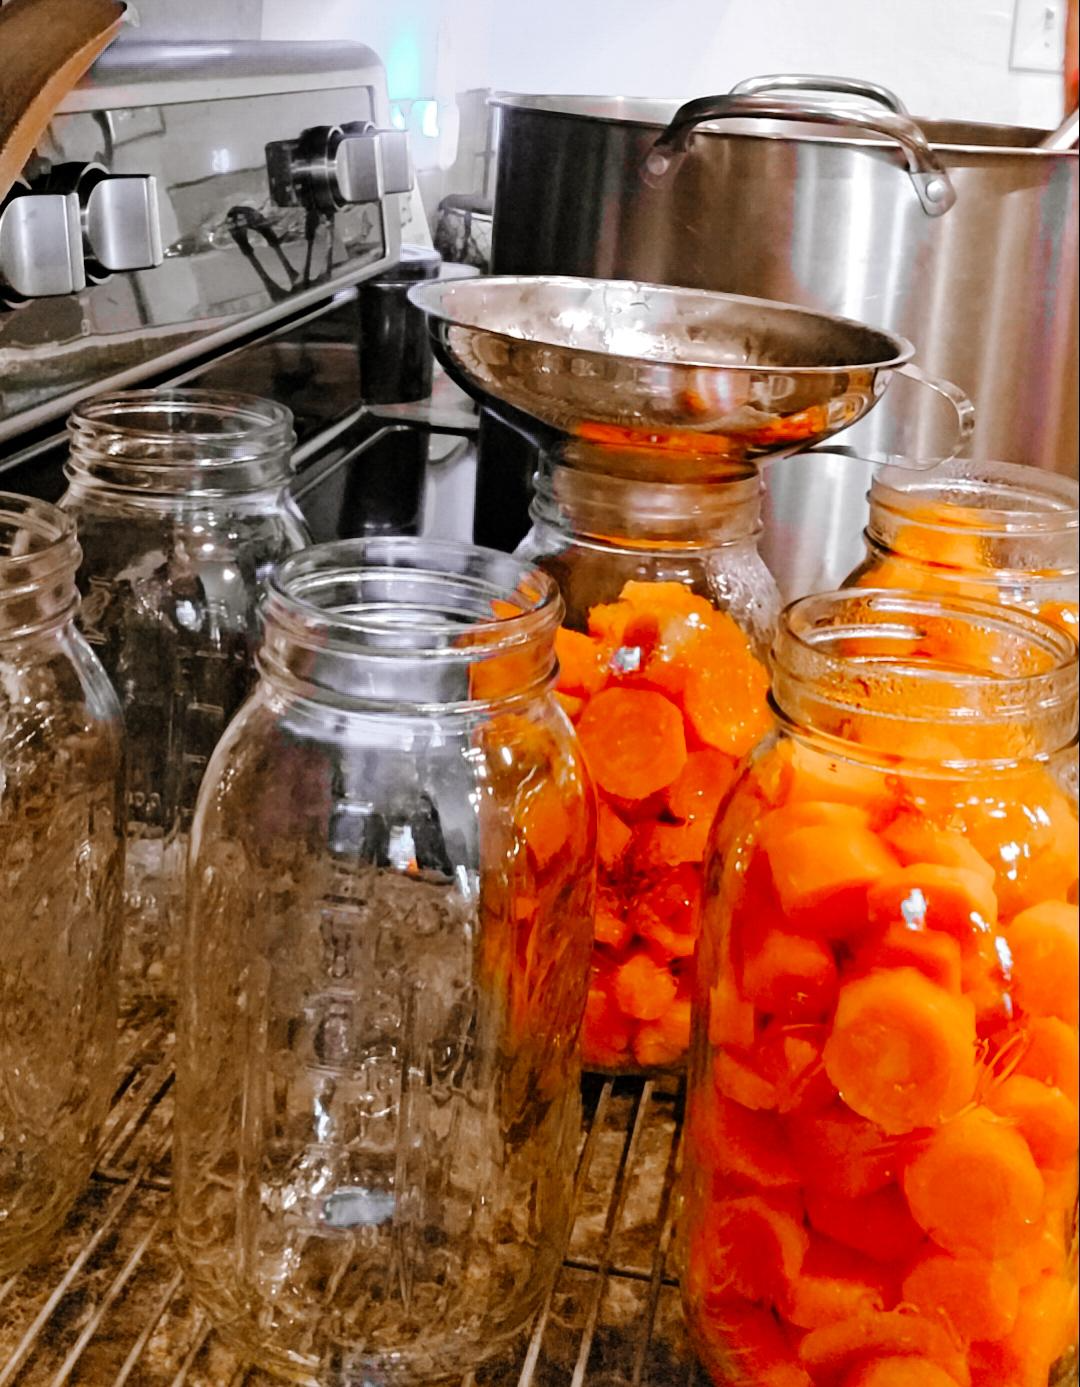
Photo by Bethany Beathard
Safety measures and tips
Modern canners have built-in safety features to avoid those dangerous incidents. Follow the correct maintenance procedures to ensure a safe process and enhance the longevity of the canner. Inspect the canning parts and order any replacement parts needed.
I want to emphasize the importance of following the canner’s manufacturer's instruction manual. Following the correct process and procedures will aid in avoiding common mistakes and or malfunctions. Once a recipe is completed, follow the manual suggested processing time and weight recommendations. The high temperatures achieved during pressure canning effectively destroy harmful bacteria, spores and toxins, ensuring that the canned food is safe to consume.
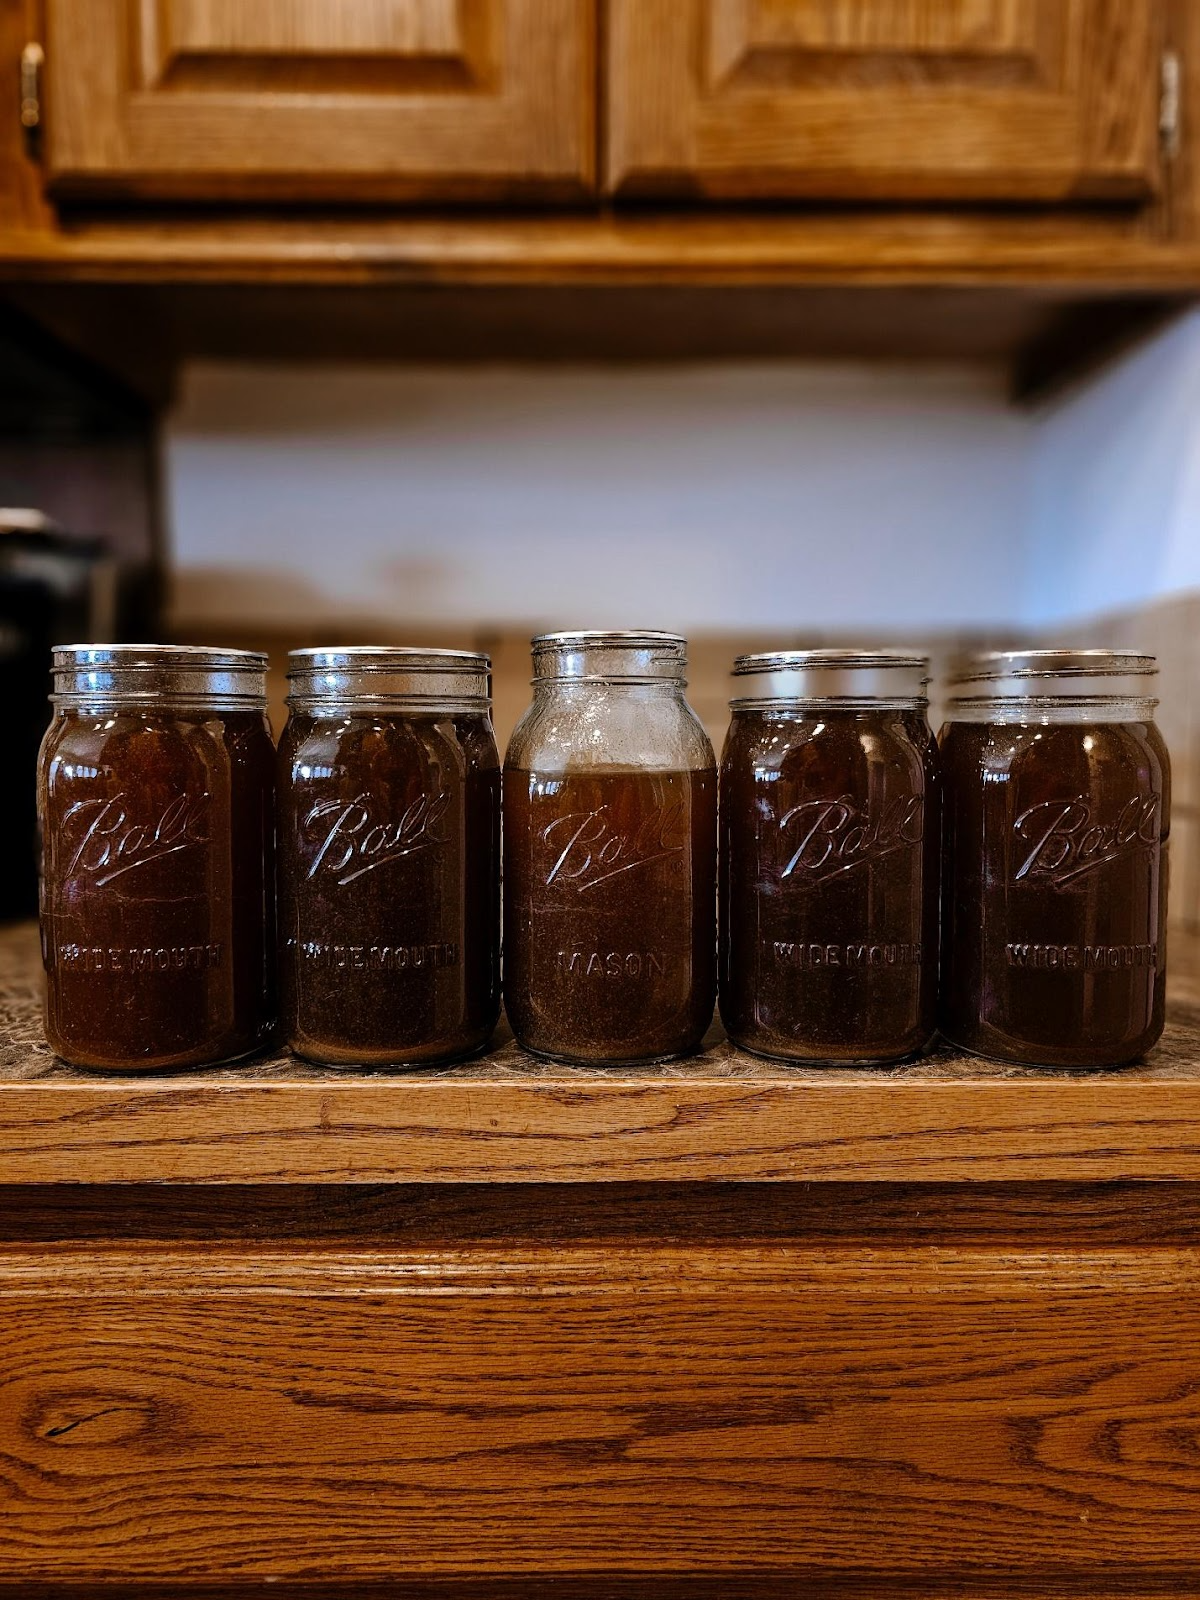
Photo by Bethany Beathard
Storage, shelf life and more
The USDA and National Center of Home Food Preservation recognize a shelf life of one year for home canned goods. The USDA and CHFP take into consideration the quality of the food, and it's not based on the safety of the food. Other studies conducted suggest up to two years of safe shelf life.
Pressure canning promotes nutrient retention in foods; unlike some other preservation methods, pressure canning preserves the nutritional value of the food. The exceptionally high temperatures are effective at killing bacteria while minimizing nutrient loss. It makes an excellent choice for stocking up on seasonal produce or bulk purchases.
Pressure canning allows you to preserve a wide variety of foods and makes it an excellent choice for creating a diverse pantry of home-canned goods. When you can your own food, you have control over what goes into the jar. It gives you the ability to reduce food additives. This means you can avoid preservatives, excessive sodium and other additives commonly found in commercial canned goods. Always wash your jars and remove bands before storing. This will allow you to properly monitor the jars as time passes.
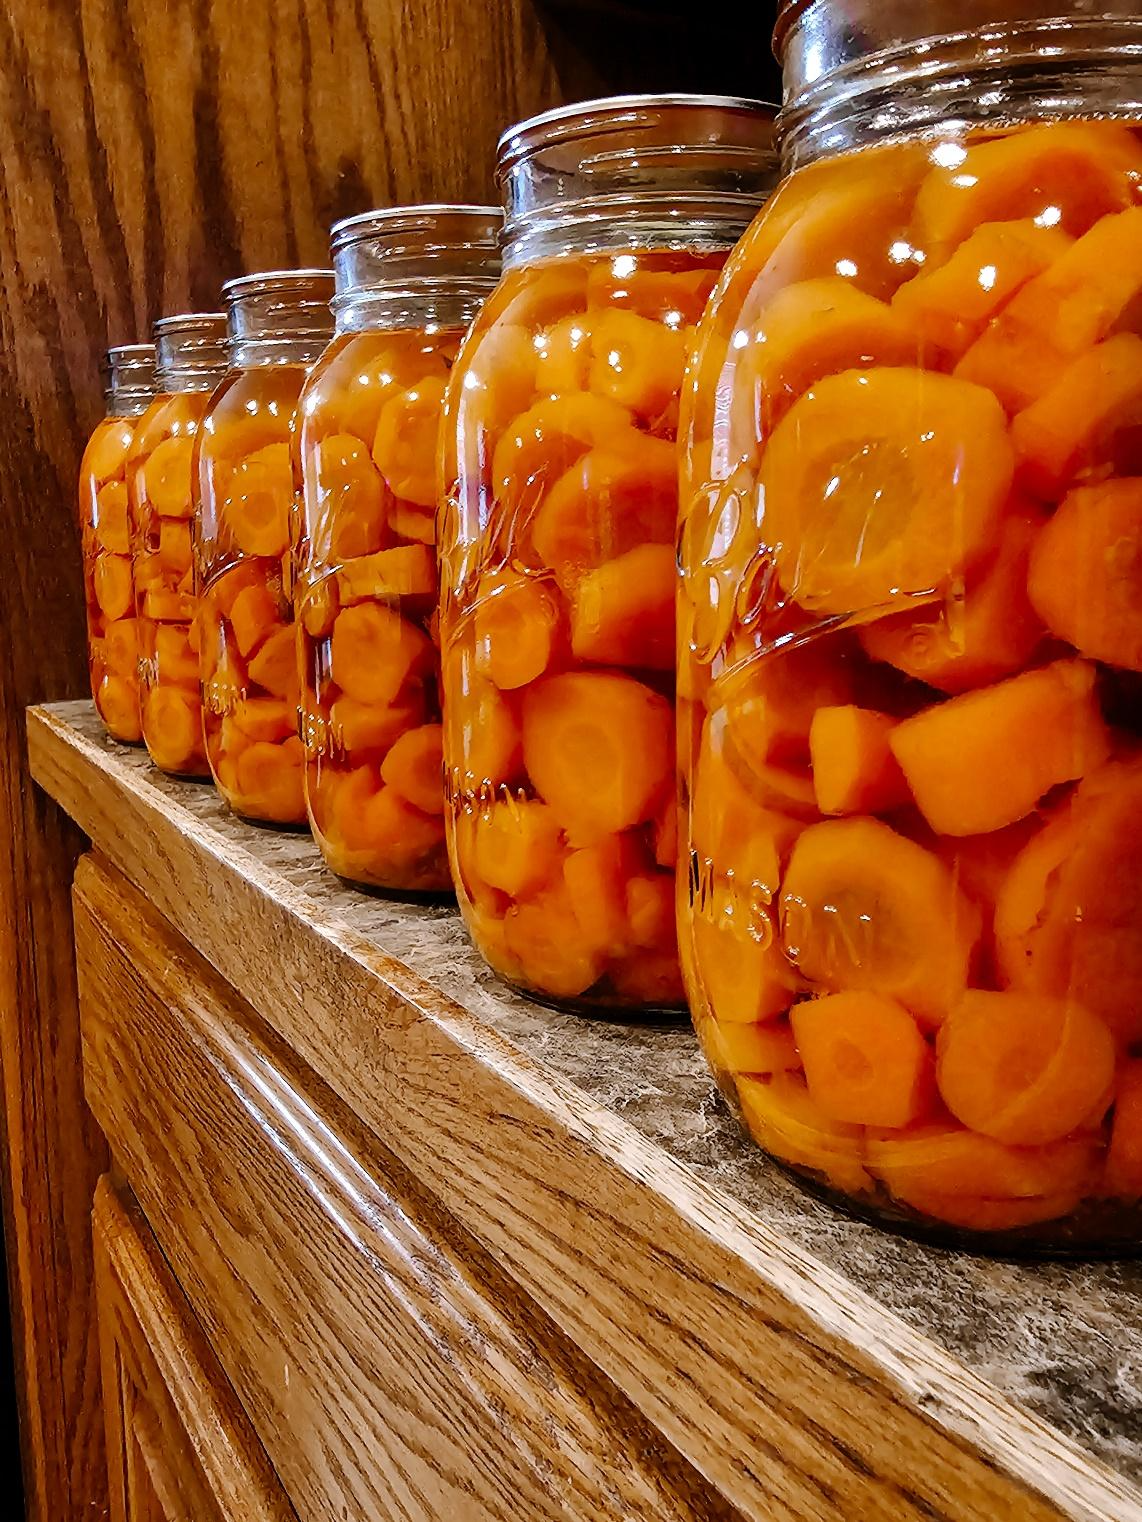
Photo by Bethany Beathard
In summary, pressure canning is a versatile and safe method of food preservation that offers numerous advantages, including increased food safety, extended shelf life and the ability to create a diverse pantry of home-canned goods tailored to your preferences.
It's essential to remember that not too long ago, this art was more than a creative endeavor; it was a lifeline, a skill vital to family survival. Today, the significance of food preservation hasn't disappeared; it's evolved. No longer is it just about survival; it's about self-sufficiency and sustainability. You can create a stockpile of home-canned goods, reduce reliance on store-bought items and ensuring food supply in emergencies. In turn, you can decrease environmental impact by canning your own food and reusing jars.
Furthermore, you can reduce the reliance on single-use packaging and lower your carbon footprint associated with transporting and storing commercially canned products. Learn the skill of preserving food with pressure canning and unlock a world of culinary possibilities while ensuring the safety and sustainability of your home food supply.
