
The art of food preservation is precisely that: an art. Jars line the pantry shelf like a collage, each one an individual masterpiece. The ever-changing color palette transforms with the addition of each new item. However, just a century ago, it was a necessary skill vital to a family's survival. Every successfully preserved food meant another day of existence.
Now, food preservation is still a crucial life skill to acquire for self-sufficiency and sustainability. Most food requires some form of preservation treatment to maintain freshness and safe, eatable quality. Canning at home is often called processing. Water bath canning is a popular food preservation method due to its ease and simplicity.
What is water bath canning?
Water bath canning is a method of food preservation for acidic foods. This method uses the pressure created by boiling water to seal the glass jars. The purpose of canning food is to prevent the growth of harmful bacteria on food. Mold will also grow on food, and is unsafe to eat. Yeast is a fungus and causes fermentation of foods, making them unfit for consumption. All three require a heating point of 212 degrees to be destroyed. As mentioned above, water bath canning is to be used for acidic foods, such as:
-Fruits and fruit juice
-Jams and jellies
-Salsa
-Tomatoes
-Pickles and relishes
-Chutneys, sauces and pie fillings
-Vinegars
-Condiments
Never use the water bath method to process meats, low-acidic vegetables, chilis or seafood. Those types of foods need to be pressure-canned.
According to the USDA's National Agricultural Library, the history of water bath canning dates back to 1809, when Nicolas Appert discovered food spoilage could be prevented when sealed and sterilized by heat. Since then, the processes have been refined and methods specified. Technological advancements have also contributed to the simplicity and efficiency of home food preservation.
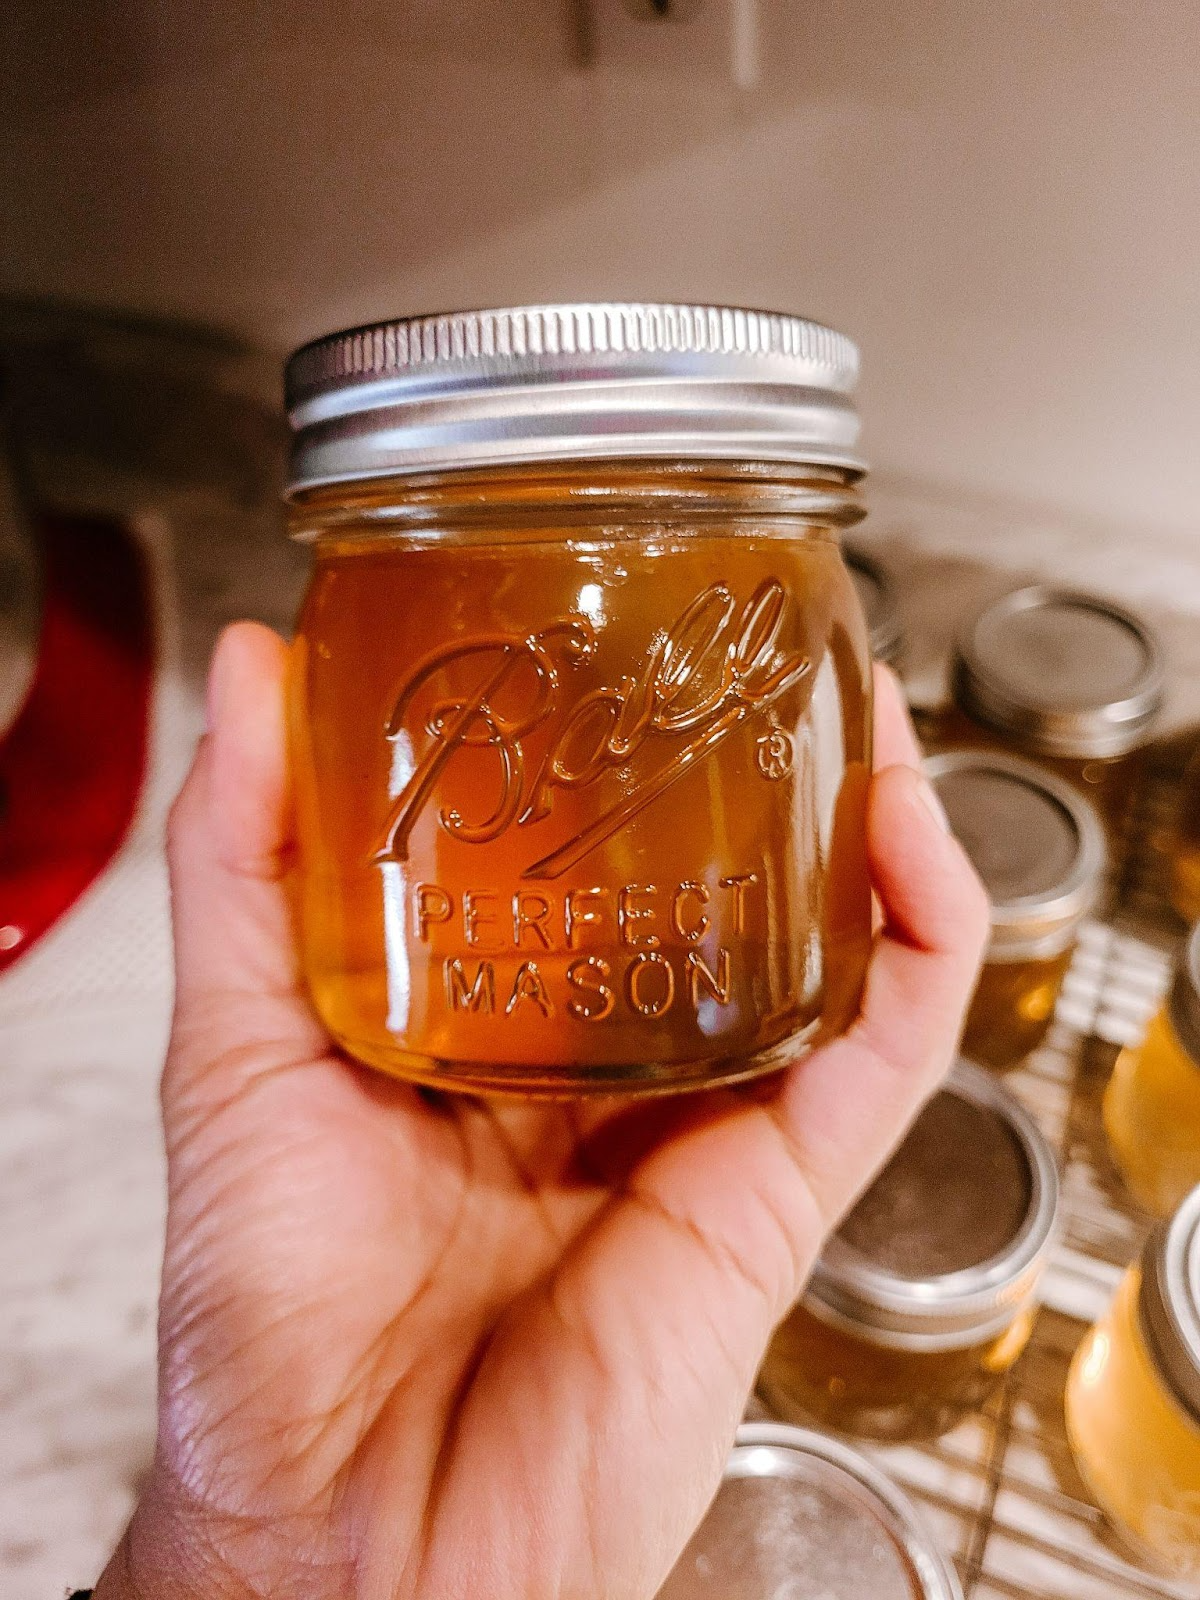
Photo by Bethany Beathard
Equipment and supplies
Water bath canning requires a few pieces of essential equipment. Most canning equipment is fitted and available for the modern kitchen—first, a water bath canner is a large pot with a well-fitted lid. On average, canners hold 21.5 quarts. The Ball Canning Company has developed an electric canner that also has a built-in steamer. A one-time purchase of a quality canner will last for years of use. When considering a canner and comparing a standard canning pot versus an electric one, take into account your future use. For example, off-grid or survival use would suggest a standard canner as the best choice.
Next, let's discuss glass canning jars, commonly known as "Mason jars." A variety of factors go into the size of jar choice, including the items you are canning, the size of the item, and the amount needed. Standard sizes and measurements are four ounces, eight ounces or half a pint, 16 ounces or a pint, 32 ounces or a quart, and 64 ounces or half a gallon. All in all, you need canning jars that have gone through a tempered heating process. Be sure to inspect each jar prior to use for any defects. Avoid using abrasive scrubbers or soaps. Lids are also called flats. They are the top covers. These should be new every time. New lids have a sealing compound applied to the outer inside edge. This mixture increases the chance of a good, solid seal. Avoid reusing lids to prevent unsealed jars and spoilage. Bands are the outer cover that screws down and seats the flat to the top of the jar. These can be reused, yet each should be inspected for any minor defects to ensure a proper fit.
It is important to use proper canning tools and equipment. Make the initial investment upfront, and the canner and utensils will last years. The most used utensil tools are the jar lifter, canning funnel, lid magnet, and headspace tool or bubble remover. These tools are very purposeful and helpful, each aiding in the success of your canning venture. These can be ordered online or found in the food preservation section of the grocery or department store.
Preparing for canning
The majority of the work in canning is in the prep. Once you know the items you are preserving and have chosen the recipe, it is time to prep the produce. In most cases, washing and peeling are required; in addition, removing blossom ends, pits, and coring may be needed as well. Recipes may suggest cutting, slicing, or blending. Once completed, the items are ready for processing.
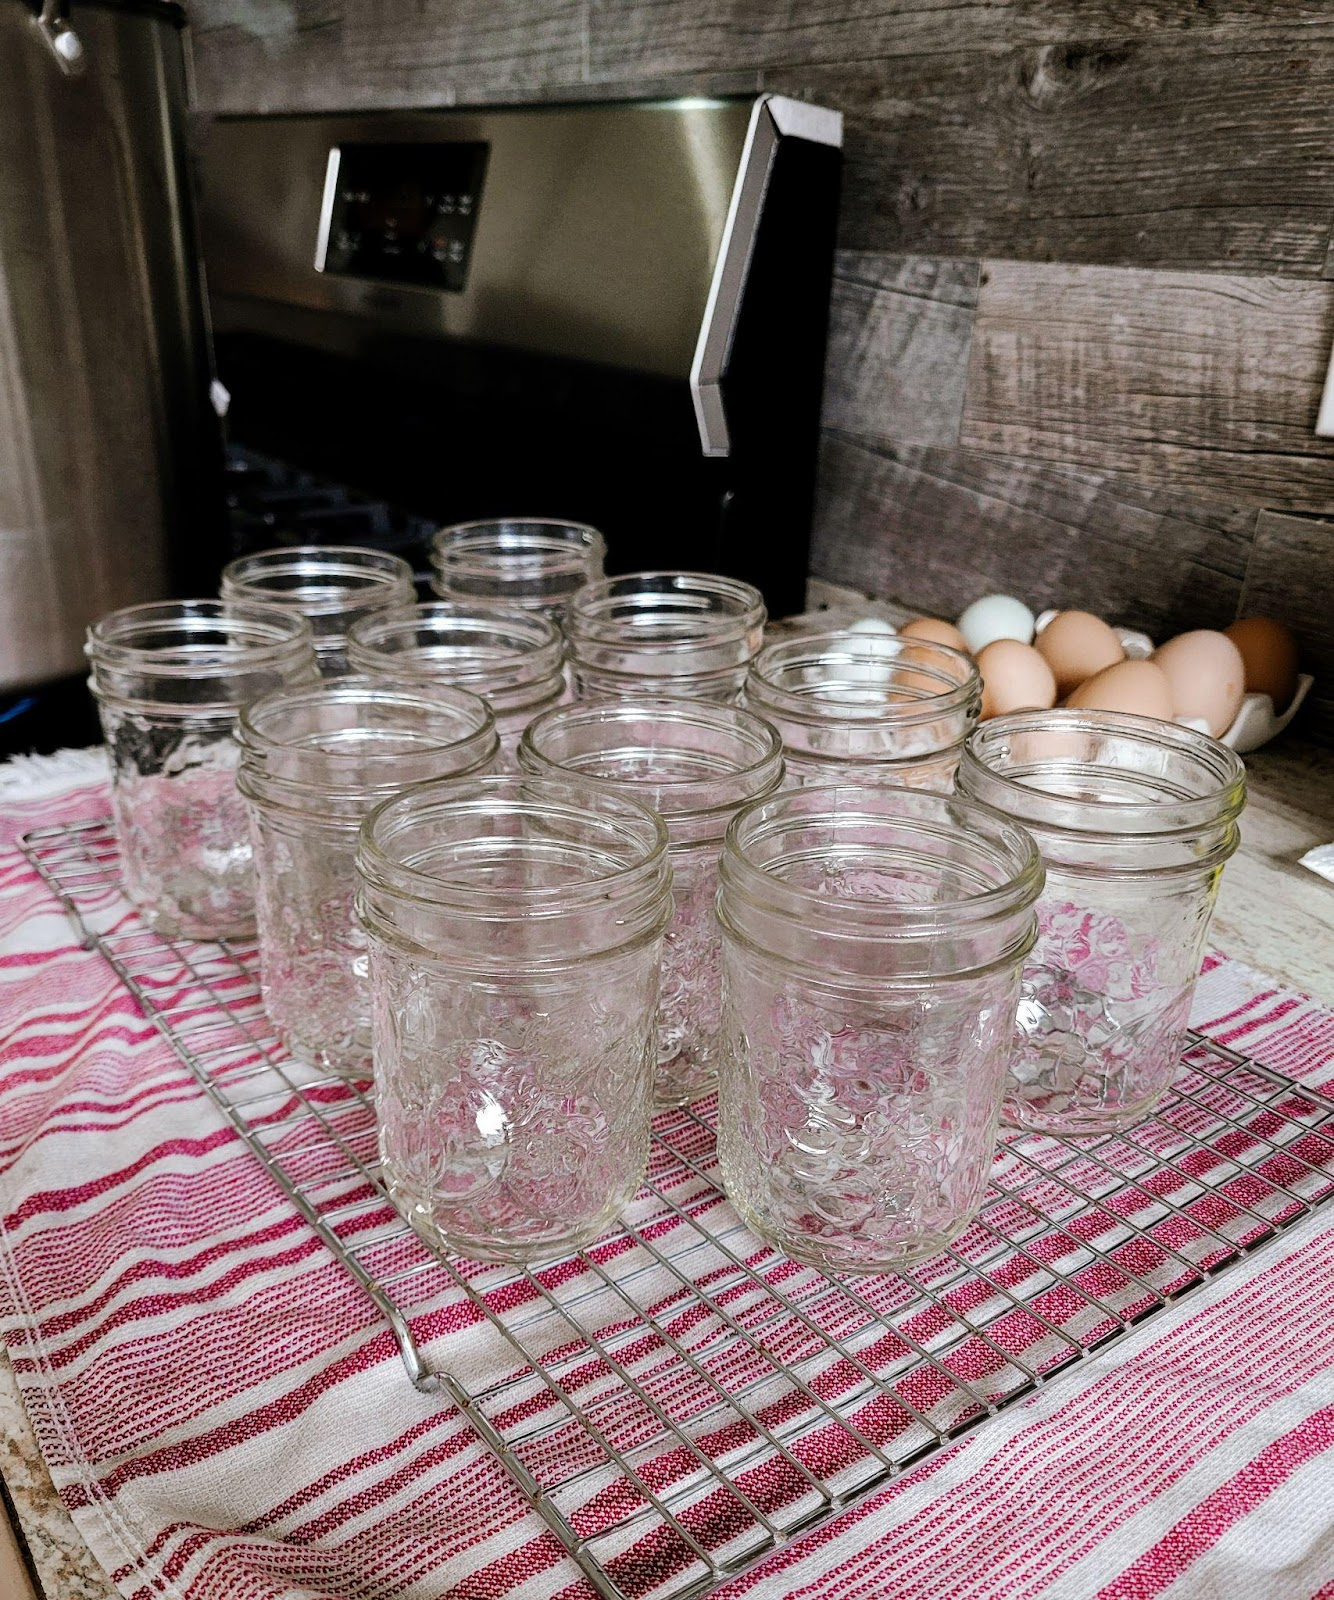
Photo by Bethany Beathard
Sterilization
An important step in canning is sterilizing jars and lids. This serves two purposes. First, it starts off the process in a sterile environment, with any surface bacteria removed from the jars and lids. Secondly, it warms the glass, preventing breakage when adding hot contents and placing it in the canner. An easy way to accomplish sterilization is to boil empty jars upright in the canner for 10 minutes. Lids and bands can be placed in a smaller saucepan to boil. Place warm jars on a towel or rack on the counter. Note: Never place warm jars directly on the counter. This will cause breakage; always use a towel or cooling rack as a barrier. This step also aids in warming the water in the canner. While the sterilization is taking place, continue to finish the recipe.
The canning process
Place the funnel on the jar and begin filling the jars with prepared food. Once a jar is full, use the headspace tool to measure the proper headspace. Flip the headspace tool over and poke through each jar, removing air bubbles. Remove or add more contents if needed to maintain adequate headspace.
Next, take a clean towel, dip it in vinegar, and wipe the jar rim. This is to disinfect the rim and remove debris that could hinder proper sealing. When applying lids and hand-tightening bands, don't cinch down. Place the jars on the canning rack and lower them into the water. Once the water is heated to a boil, start the processing timer. When selecting a time from a recipe for processing, be sure to adjust for altitude. Since the boiling point changes with altitude over 1,000 feet, the processing time must be extended. Your current altitude can be found with a search engine search or by calling the local county office.
Once processing is complete, remove the jars from the canner and place them on a towel or rack to cool. Allow the jars to fully cool for 12-24 hours before testing the seals. When the jars have cooled, remove the band and check the flat for a proper seal. Wash the jar with soapy water to remove any remaining residue or calcification. Store the jars in a cool, dry place such as a pantry or storage room.
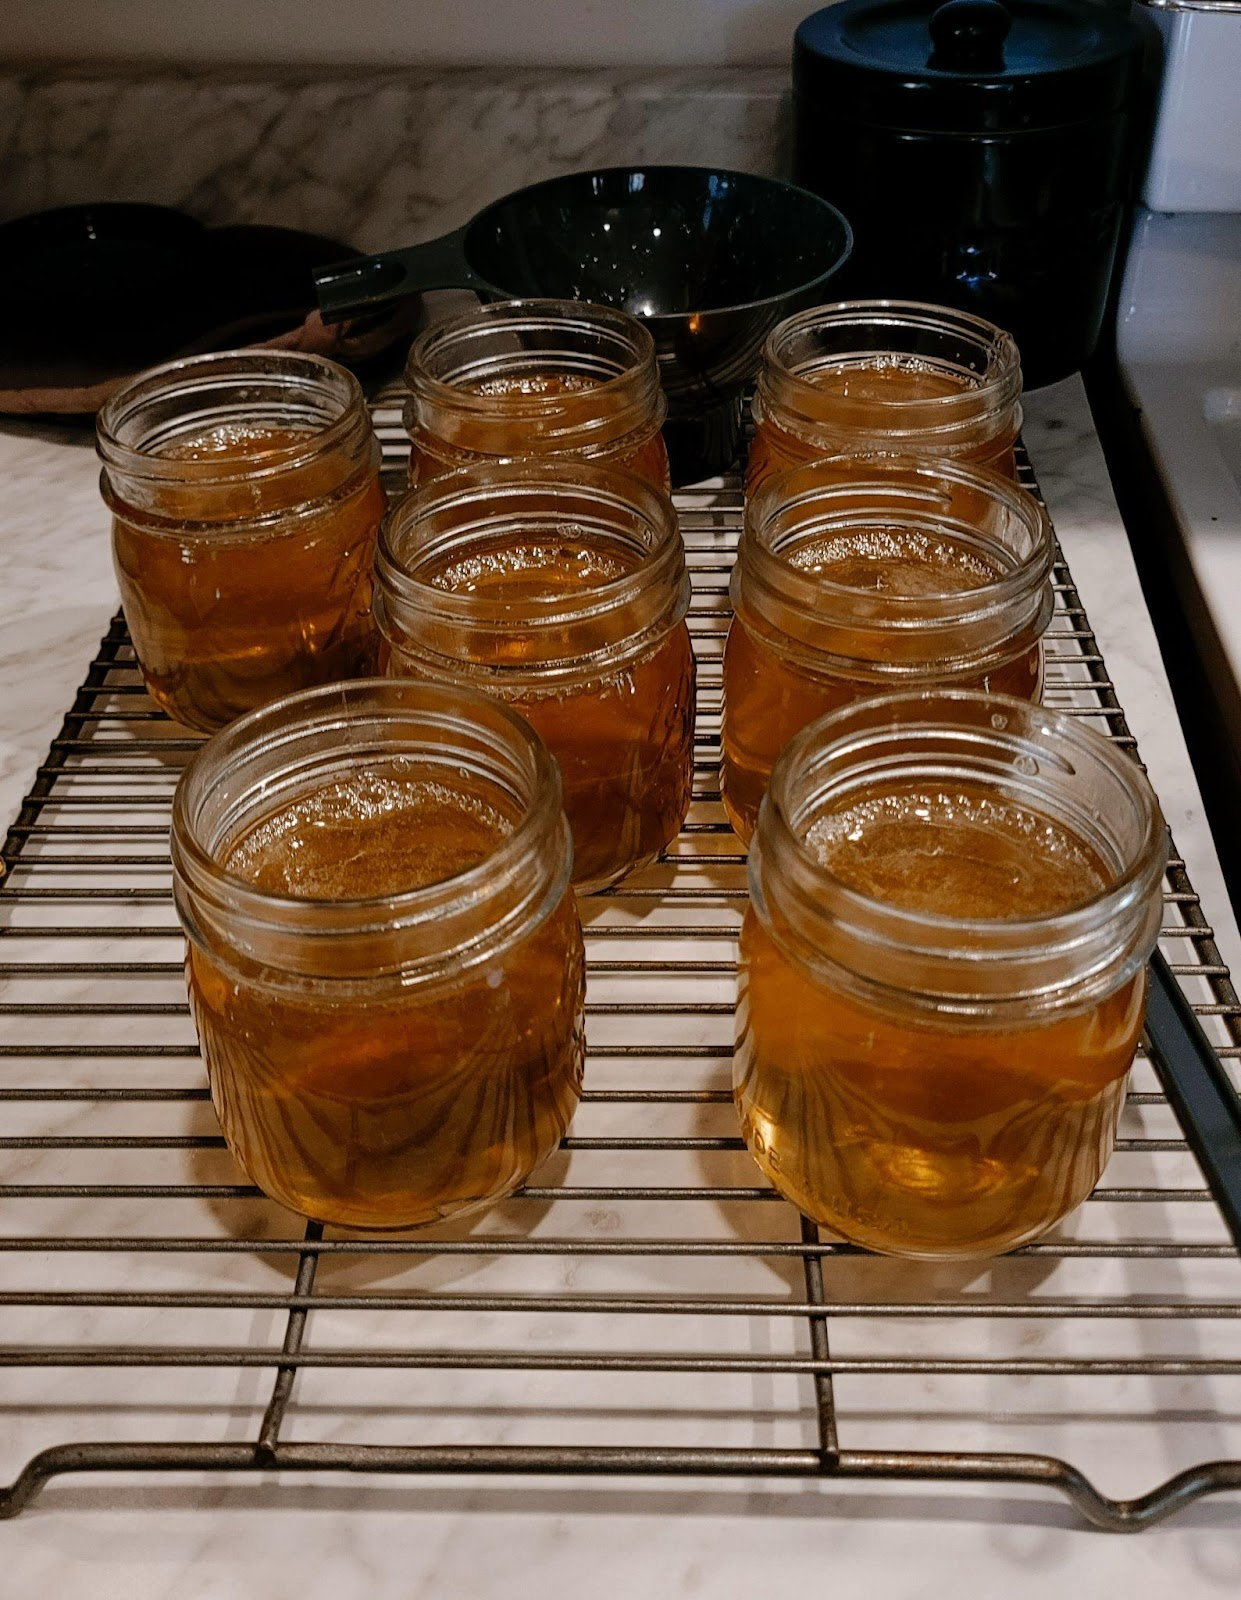
Photo by Bethany Beathard
Safety and best practices
To prevent common canning mistakes, follow the recipe and manual recommendations. The more experience you gain, the better and easier the process will become.
Leave the bands off the tops so that you can quickly recognize signs of spoilage. Most home-canned items have a shelf life of one year. Ensuring the proper seal and storage will ensure that the shelf life of the canned goods is sustained.
Final tips and resources for further learning: To ensure your water bath canning adventures are safe and successful, remember these essential tips:
-Always follow trusted canning recipes and guidelines.
-Prioritize cleanliness and sterilization to prevent spoilage.
-Pay attention to processing and times an altitude adjustments
-Regularly inspect your canned goods for signs of spoilage.
-Keep learning and experimenting with new recipes.
Water bath canning is not just a method for preserving food; it's a gateway to a world of satisfaction, self-sufficiency and culinary creativity. There's something profoundly rewarding about seeing rows of colorful jars filled with the fruits of your labor neatly lined up on your pantry shelves. It connects you to a tradition of self-reliance and resourcefulness that spans generations. The world of water bath canning is accessible and perfect for beginners. Whether you have an overflowing garden or simply want to savor the taste of homemade goodness with store-bought goods, water bath canning offers an avenue to do just that. In the end, water bath canning is not just about preserving food; it's about preserving traditions, flavors, and memories. It's about self-sufficiency, sharing with loved ones, and embracing the joys of homemade goodness.
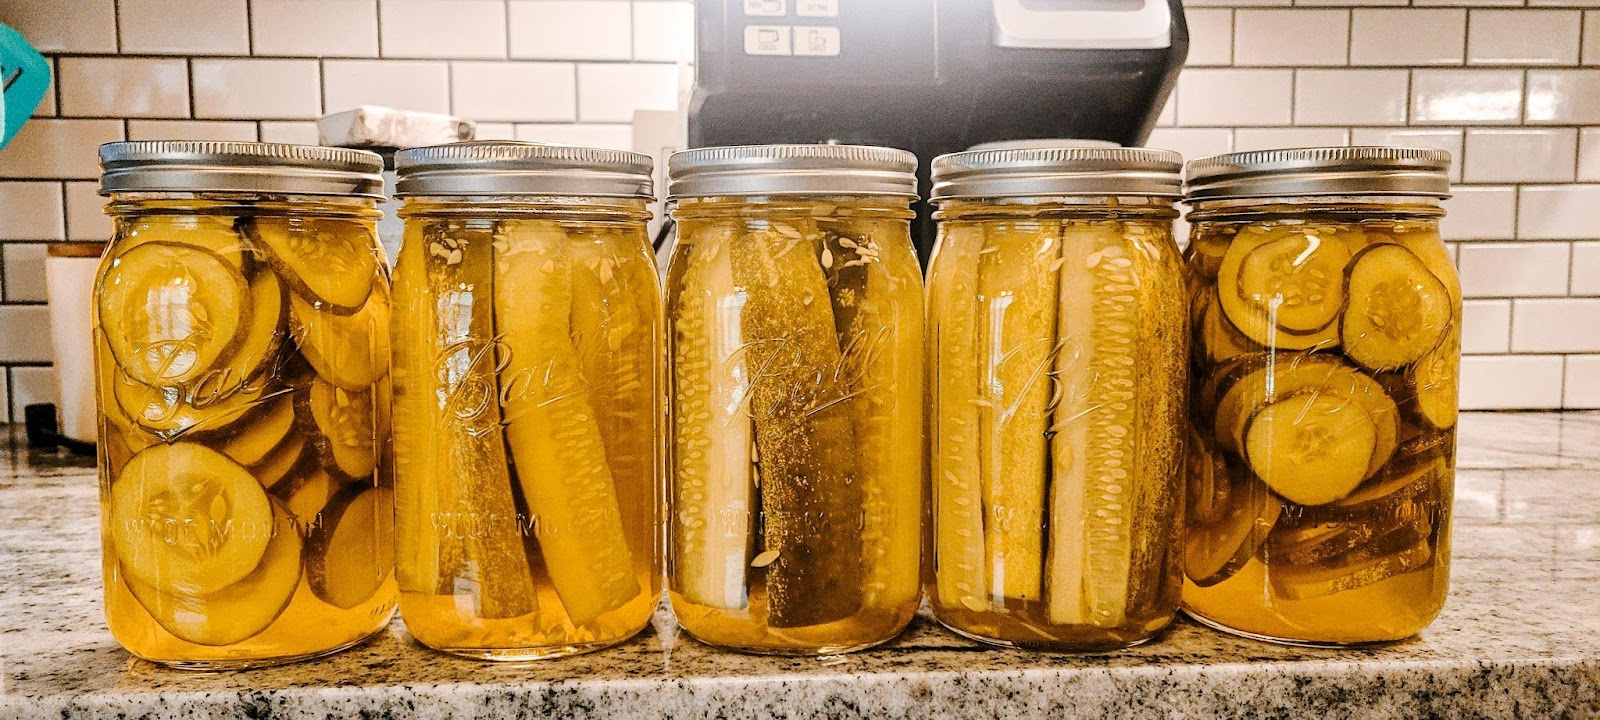
Photo by Bethany Beathard